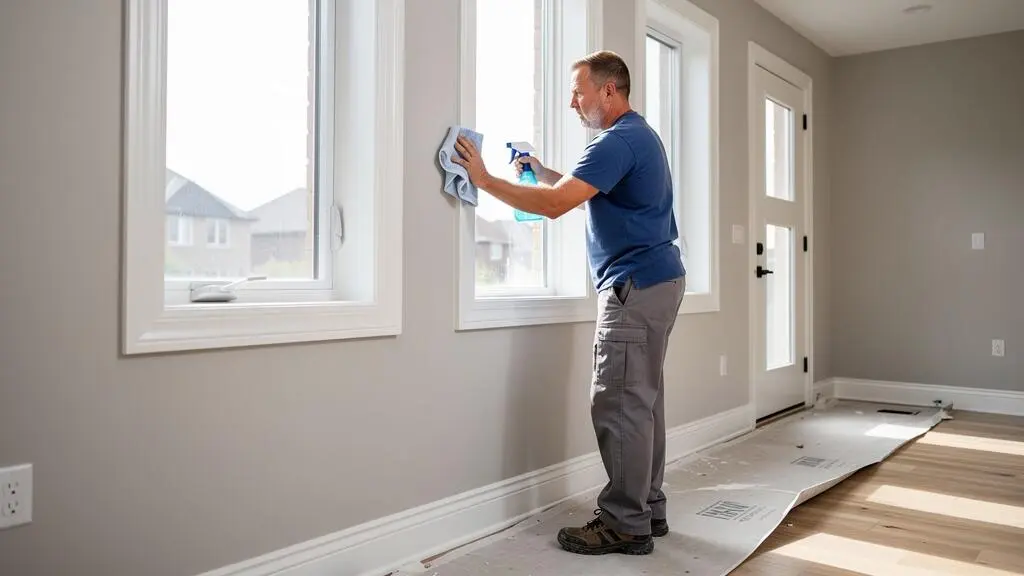
Your contractor just mentioned three separate cleaning stages for your renovation project, and the immediate question surfaces: is this genuinely necessary, or a strategy to triple the invoice? After investing heavily in your Oakville home’s transformation, the prospect of paying for rough cleaning, light cleaning, and final touch-up cleaning might feel excessive.
The reality differs significantly from this initial impression. These three stages align directly with distinct construction phases, each generating different types of debris and contamination. Rough cleaning after drywall installation protects your upcoming paint work from heavy dust. Light cleaning after painting and major installations prepares surfaces for delicate final fixtures. Final touch-up cleaning delivers the move-in ready standard your family expects, typically scheduled 24-48 hours before you return home.
Transitioning from a structural project to a livable home requires specialized care that standard housekeeping cannot provide. To protect the integrity of newly installed materials and ensure a healthy environment, homeowners often rely on expert post construction cleaning in Oakville to handle the meticulous removal of fine particulates and industrial residues. This professional intervention bridges the gap between a dusty job site and a polished living space, allowing the architectural details of the renovation to truly shine while ensuring the property meets high quality standards.
Quick overview: The three-stage cleaning sequence mirrors standard construction progression in Ontario. Rough cleaning removes heavy debris after structural work, light cleaning prepares painted surfaces before final installations, and touch-up cleaning achieves move-in condition. Timing each stage correctly prevents contamination of new finishes and eliminates the need to repeat cleaning work.
- Why post-construction cleaning follows a three-stage sequence
- Stage 1: Rough cleaning — removing construction debris and heavy residue
- Stage 2: Light cleaning — preparing surfaces for final finishes
- Stage 3: Final touch-up clean — the detailed finishing stage
- How do you coordinate cleaning stages with construction timelines?
- Should you hire a professional or DIY your post-construction cleaning in Oakville?
- Making the three-stage sequence work for your Oakville renovation
Why post-construction cleaning follows a three-stage sequence
Construction work generates fundamentally different contaminants at different project phases. During structural work and drywall installation, you’re dealing with heavy debris, thick dust accumulation, packaging materials, and substantial residue from cutting and installation. Once painting begins and flooring goes down, the contamination shifts to fine particulate matter, paint overspray, and installation residues from fixtures. By the final phase, you’re addressing fingerprints, protective film removal, minor dust settlement, and detail-level cleanliness.
Each cleaning stage targets the specific contamination type produced during its corresponding construction phase. This alignment isn’t arbitrary—it prevents the debris from one phase from damaging or contaminating the work completed in the next phase. Attempting to skip directly to final cleaning means your newly painted walls collect heavy drywall dust, your fresh flooring gets scratched by construction debris, and your installed fixtures accumulate residue that hardens and becomes difficult to remove.
The sequence follows the same logic you already apply to construction itself. Just as you wouldn’t install light fixtures before painting the ceiling, you don’t perform detailed finish cleaning while trades are still generating construction dust. The Town of Oakville confirms that building inspections are required at various stages under the Ontario Building Code, and cleaning stages coordinate with these inspection milestones to present your project properly at each checkpoint.
Cleaning too early means repeating the work after subsequent construction phases recontaminate the space. Cleaning too late risks embedding residues into finished surfaces or requiring aggressive methods that could damage new materials. A hardened adhesive residue that could be wiped away immediately after tile installation might require scraping that damages your new floor if left for weeks until final cleaning.
| Characteristic | Rough Cleaning | Light Cleaning | Final Touch-Up |
|---|---|---|---|
| Timing in construction sequence | After drywall installation and sanding, before painting | After painting and major installations, before final fixtures | 24-48 hours before move-in or occupancy |
| Primary debris targeted | Heavy construction debris, drywall dust, packaging, large residues | Fine dust, paint overspray residue, installation debris from flooring and cabinets | Fingerprints, protective films, minor dust, detail-level marks |
| Level of detail | Broad cleaning focused on removing bulk contamination | Intermediate detail preparing surfaces for finishing work | Meticulous attention to every surface, recess, and fixture |
| Primary objective | Protect subsequent painting and finishing trades from contamination | Prepare clean environment for final installations and inspections | Achieve move-in ready standard with no visible construction traces |
| Typical equipment | Industrial vacuums, heavy-duty brooms, degreasing products | Microfiber cloths, surface cleaners, detail vacuuming | Specialized glass cleaners, polishing compounds, precision tools |
The staged approach also accommodates the reality that construction timelines rarely proceed perfectly. Scheduling a single comprehensive cleaning requires all trades to be completely finished, all inspections passed, and all installations completed—a coordination challenge that typically delays occupancy. Staging the work allows cleaning to proceed in parallel with construction progression, keeping the overall project timeline efficient.
Stage 1: Rough cleaning — removing construction debris and heavy residue
Rough cleaning addresses the substantial mess created during structural work and drywall installation. This stage removes the bulk contamination that would interfere with painting, flooring installation, and other finishing trades. The work focuses on clearing debris and heavy dust rather than achieving a polished appearance.
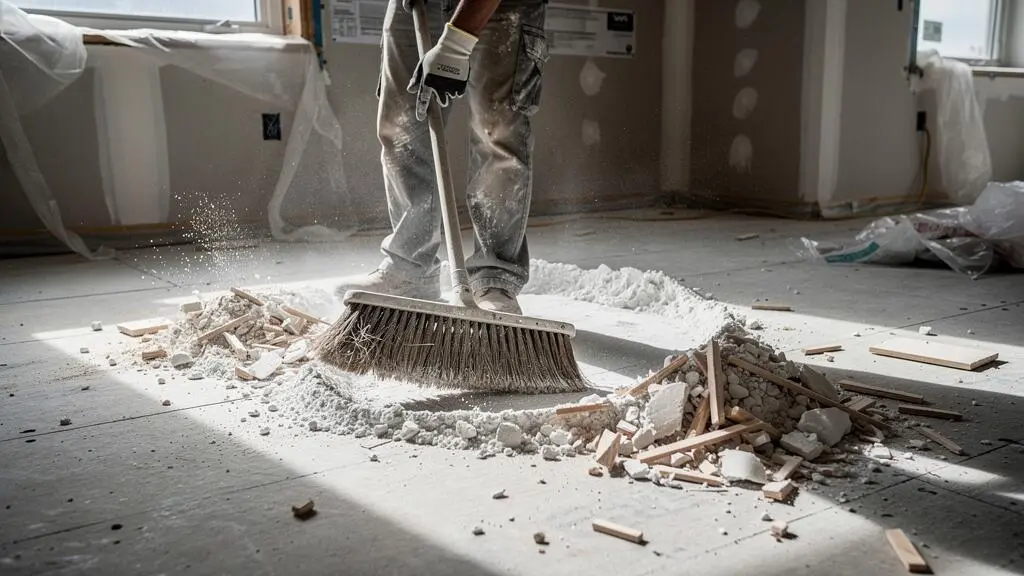
The optimal timing for rough cleaning is typically two to three days after drywall sanding is complete but before painters begin applying primer or paint. This window allows dust to settle from the air while ensuring painted surfaces won’t be contaminated by the heavy particulate matter that drywall work generates. According to the Canadian Centre for Occupational Health and Safety, approximately 429,000 Canadian workers face occupational exposure to silica, with construction trades among the most affected groups—highlighting why proper removal of drywall dust matters for both immediate cleanliness and longer-term health considerations.
- Construction debris and waste materialsWood scraps, drywall cutoffs, packaging materials, plastic sheeting, tape, and other disposable items left from structural work and installations. This includes empty boxes from fixtures, protective wrapping, and any materials that accumulated during the build phase.
- Heavy drywall dust and joint compound residueThe fine white powder that settles on every surface after drywall installation and sanding. This dust is pervasive, coating floors, window sills, framing, and any exposed surfaces. Industrial HEPA-filtered vacuums are typically necessary because standard household vacuums cannot effectively capture particles this fine.
- Adhesive residues and installation marksFresh adhesive from flooring preparation, tape residue from protective coverings, mortar or grout traces from tile work, and construction-grade markings. These substances are easier to remove while still relatively fresh rather than after they’ve cured for several weeks.
- Sawdust and cutting debrisAccumulated sawdust from trim cutting, wood particles from framing adjustments, and metal shavings from any metal work. This debris can scratch new flooring or embed in wet paint if not removed before finishing trades begin.
- General construction dust from all surfacesSweeping or vacuuming walls, ceiling surfaces, window frames, door frames, and any built-in elements to remove the layer of construction dust that prevents proper paint adhesion and creates a gritty texture under rollers and brushes.
The rough cleaning stage protects your subsequent investments in painting and flooring. Paint applied over dust-contaminated drywall shows poor adhesion, visible texture imperfections, and reduced durability. New flooring installed before debris removal faces immediate scratching and damage. By removing bulk contamination at this stage, you ensure the quality finishes you’re paying for can be applied to properly prepared surfaces.
For DIY consideration, rough cleaning is often the most physically accessible of the three stages, though it requires appropriate equipment. The work is straightforward but labour-intensive, and the tolerances are forgiving since you’re aiming for “clean enough to paint” rather than “ready to occupy.” The primary requirement is access to industrial-grade vacuuming equipment with HEPA filtration, which many tool rental centres in Oakville and the Greater Toronto Area provide.
Stage 2: Light cleaning — preparing surfaces for final finishes
Light cleaning occupies the middle position in the sequence, performed after major installations are complete but before the final fixtures and hardware go in. This stage addresses the finer dust and residues that painting, flooring installation, and cabinet work generate, preparing a clean environment for the detailed finishing work ahead.
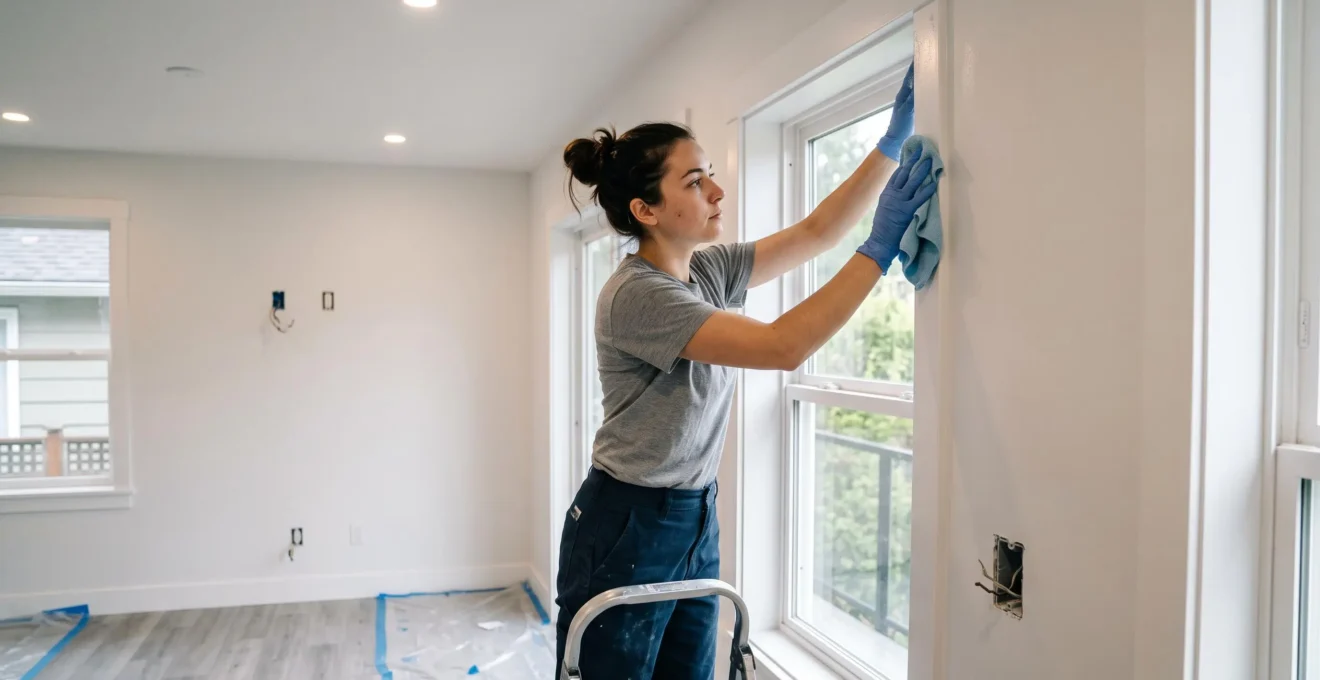
The timing for light cleaning typically falls after your painting is complete and dry, flooring is installed, and major elements like cabinets and countertops are in place, but before electricians return to install light fixtures, before outlet and switch plates go on, and before any decorative or finishing hardware is attached. This window usually occurs about one to two weeks before your anticipated occupancy date, depending on your project’s specific timeline.
What distinguishes light cleaning from rough cleaning is the shift in focus from bulk removal to surface preparation. At this stage, you’re no longer dealing with piles of debris or thick dust accumulation. Instead, you’re addressing the fine particulate matter that settled during painting, the residual dust that flooring installation generated despite careful containment, and the fingerprints and marks that accumulate as various trades complete their work on your nearly finished space.
Light cleaning tasks include wiping down all painted surfaces to remove any residual dust or overspray texture, cleaning window glass and frames that collected dust during interior finishing work, vacuuming floors with attention to corners and edges where fine dust accumulates, and wiping cabinet exteriors and countertops clean of installation residue. The work also addresses areas like door frames, baseboards if they’re already installed, and any built-in shelving or features.
This intermediate cleaning serves a dual purpose beyond simply maintaining cleanliness. It creates the proper environment for final installations—light fixtures, outlet covers, and finish hardware install cleaner and fit better when mounting surfaces are dust-free. It also prepares your space for final municipal inspections, which in Oakville and throughout Ontario are required at various construction stages. Presenting a reasonably clean site to inspectors demonstrates professional project management and allows them to focus on code compliance rather than working around construction mess.
The level of detail in light cleaning exceeds rough cleaning but stops short of the meticulous approach required for move-in condition. You’re creating a clean workspace for finishing trades rather than a finished living space. Painters and electricians will still leave some marks, and minor dust will still settle as final work proceeds, which is why the third stage remains necessary.
Stage 3: Final touch-up clean — the detailed finishing stage
Final touch-up cleaning delivers the move-in ready standard that transforms your construction site into a home ready for occupancy. This stage addresses every detail, removing all remaining traces of construction work and achieving the level of cleanliness you’d expect in a model home or newly purchased property.
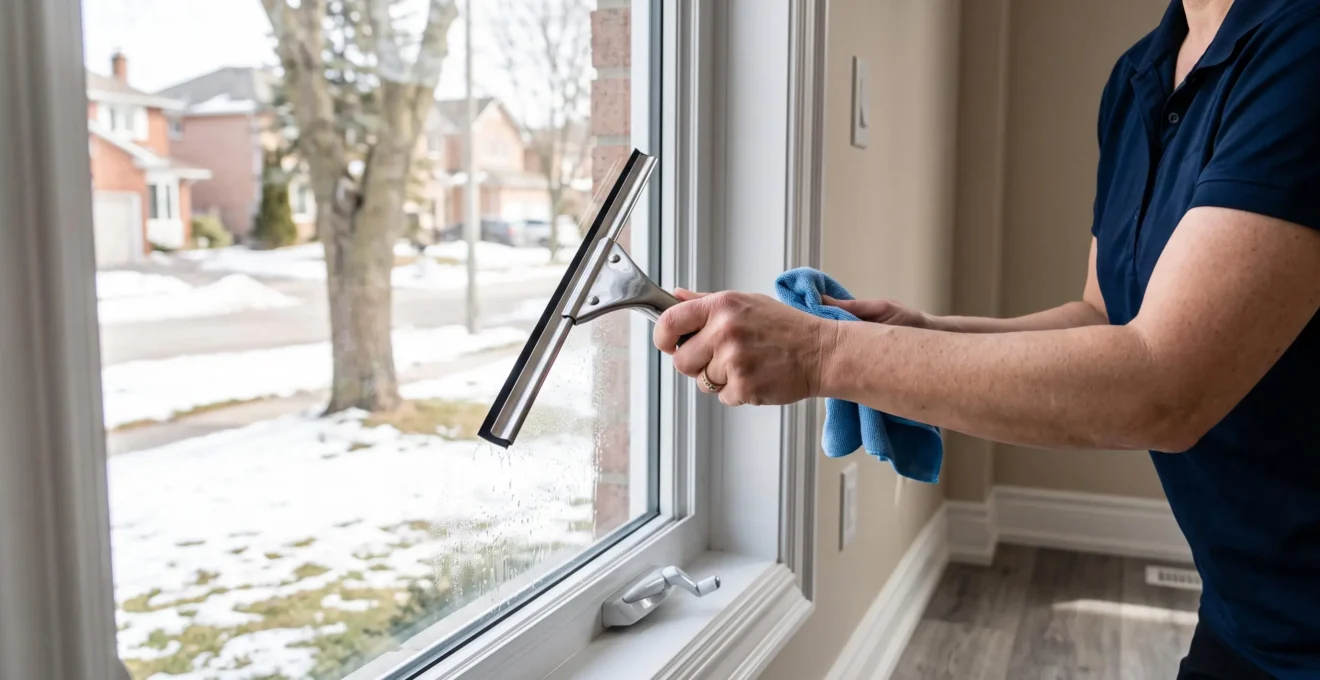
The optimal timing for final touch-up cleaning is 24-48 hours before your planned move-in date or before the official handover of the project. This tight window ensures the space remains pristine without providing much opportunity for dust to resettle or for any remaining minor work to create new marks. For a family returning home after months staying elsewhere—like the situation many Oakville homeowners face during major renovations—this timing means you’re unpacking boxes into a truly clean environment rather than immediately facing post-construction cleanup alongside the disruption of moving back in.
Final touch-up cleaning operates at a significantly more detailed level than either previous stage. Every surface receives individual attention, every corner and recess gets addressed, and the standard resembles professional housekeeping rather than construction site cleaning. The work removes protective films and stickers from appliances and fixtures, eliminates fingerprints from all glass, mirrors, and polished surfaces, and ensures no adhesive residue remains anywhere visible.
Move-in ready checklist: All windows and glass surfaces are streak-free and clear. Cabinet interiors are wiped clean and ready for dishes or storage. All bathroom fixtures are polished and free of installation residue. Floors show no construction dust, film, or debris in any corner. Light fixtures are dust-free and bulbs are clean. All switch plates and outlet covers are wiped clean. Baseboards, door frames, and trim show no marks or dust. Any stickers, labels, or protective films are completely removed. All surfaces can be touched without encountering dust, grit, or residue.
Attention focuses particularly on areas that show every imperfection: windows and glass doors require streak-free cleaning inside and out; bathroom fixtures and kitchen faucets need polishing to remove water spots and protective coatings; stainless steel appliances must be cleaned of fingerprints and any factory protective film; and hardwood or tile floors require removal of any construction film that creates a hazy appearance.
The final cleaning also addresses spaces that might have been overlooked in earlier stages. Cabinet interiors get wiped down so you can immediately store dishes or clothing without them getting dusty. Closets are vacuumed and wiped clean. Interior window sills and tracks are cleaned of accumulated dust. Light fixture globes are cleaned inside and out. Any accessible ventilation grilles are wiped or vacuumed clean.
This stage represents the emotional transition from construction project to home. After weeks or months of managing contractors, making decisions, and living with disruption, final touch-up cleaning is what allows you to simply walk in, unpack, and resume normal life. The investment in this detailed cleaning protects the much larger investment you’ve made in the renovation itself by ensuring every finish you paid for is visible, clean, and properly maintained from day one.
How do you coordinate cleaning stages with construction timelines?
Successful coordination between cleaning stages and construction work requires understanding the key milestones in your project timeline and building cleaning into the schedule as deliberately as you schedule trades. The goal is ensuring each cleaning stage happens at the right moment—late enough that the preceding work is complete, early enough that it protects the work that follows.
For rough cleaning, the triggering milestone is completion of drywall sanding. Schedule this cleaning two to three days after your drywall contractor finishes sanding and before your painter begins any work. This window allows airborne dust to settle while preventing painters from working in dust-contaminated conditions. Communicate with your general contractor or drywall installer to confirm their final day on site, then book rough cleaning to start approximately two days later. Build in flexibility of an additional day or two, since drywall work commonly runs slightly behind schedule.
Light cleaning coordinates with the completion of painting and major installations. The triggering milestone is typically when your painter completes final coats and your flooring installation is finished, but before electricians return for fixture installation and before any finish hardware goes on. This stage often aligns conveniently with the timing of final municipal inspections. Schedule light cleaning three to five days before your anticipated final inspection date, ensuring inspectors see a clean, professional-looking project that makes code compliance verification easier.
Final touch-up cleaning requires the tightest coordination because it must occur after absolutely all construction work is complete—including the small finishing tasks that often extend timelines. Every switch plate must be installed, every fixture must be hung, every piece of trim must be in place, and any paint touch-ups must be finished. Only then does final cleaning make sense, since any remaining work will create new marks requiring additional cleaning.
The 24-48 hour window before move-in provides a practical target. Work backward from your planned occupancy date: if you’re moving back in on a Saturday, schedule final cleaning for Thursday or Friday. This requires that all construction work genuinely concludes by Wednesday evening at the latest. In practice, achieving this timing often means accepting that one or two very minor items might remain incomplete rather than delaying your family’s return home for small details that can be addressed after occupancy.
- Confirm the actual completion date for drywall sanding, not just the estimated date
- Verify when painters plan to start, ensuring adequate cleaning window exists
- Identify the date for final municipal inspection and work backward to schedule light cleaning
- Establish a firm “construction complete” deadline at least three days before planned occupancy
- Discuss access arrangements for cleaning crews, including key pickup and alarm codes if applicable
- Clarify who removes construction debris—some cleaning services include this, others do not
- Build in buffer time for typical delays, particularly around rough cleaning and final completion stages
Project scope affects whether you truly need all three distinct stages. A relatively contained renovation—perhaps a single bathroom or a kitchen refresh without structural changes—might consolidate rough and light cleaning into one intermediate cleaning after major work but before final fixtures. A complete home renovation or new construction almost always benefits from all three stages performed separately, since the volume of debris and the number of trades involved make staged cleaning substantially more efficient than attempting everything at once.
Maintain flexibility in your schedule because construction timelines rarely proceed exactly as planned. Weather delays outdoor work, material backorders extend timelines, and unexpected issues discovered during demolition add scope. Book cleaning services provisionally with the understanding that dates might shift by several days. Many professional cleaning companies serving Oakville and the Greater Toronto Area are accustomed to construction project volatility and maintain some scheduling flexibility, though busy periods may reduce this accommodation.
Should you hire a professional or DIY your post-construction cleaning in Oakville?
The decision between professional cleaning services and DIY cleaning depends on several practical factors: the scale of your project, your available time before occupancy, access to appropriate equipment, the standard of finish you’re targeting, and what remains in your budget after construction costs. Both approaches have legitimate applications depending on your specific circumstances.
Project scale significantly influences this decision. A major renovation involving multiple rooms, structural changes, and extensive drywall work generates substantial debris that professional equipment handles far more efficiently than household tools. A smaller project—refinishing a basement, renovating a single bathroom, or updating a kitchen without moving walls—produces manageable amounts of debris that determined homeowners with a weekend available can reasonably address themselves.
Equipment access represents a key consideration. Effective post-construction cleaning, particularly the rough cleaning stage, requires industrial-grade HEPA-filtered vacuums that capture fine particles rather than redistributing them into the air. Standard household vacuums lack both the filtration and the capacity for heavy construction dust. However, tool rental centres throughout Oakville and the Greater Toronto Area offer commercial vacuum rentals at reasonable daily rates, making DIY rough cleaning feasible if you’re willing to invest the physical labour.
Time availability matters especially for families planning to move back in on a specific date. Professional crews complete in hours what might take a homeowner an entire weekend or longer. If you’re staying with relatives or in temporary accommodation with a firm end date—a common situation for Oakville homeowners during major renovations—professional cleaning provides certainty that the work will be completed on schedule. DIY cleaning requires buffer time in case the work takes longer than anticipated or you encounter challenges.
A hybrid approach often provides the best balance between cost management and quality results. Consider handling rough cleaning yourself with rented equipment, since this stage has the most forgiving tolerances and represents primarily physical labour rather than specialized technique. Then engage professional services for light cleaning and particularly for final touch-up, where expertise in streak-free window cleaning, proper floor film removal, and detailed finishing work produces noticeably superior results compared to typical homeowner capabilities.
DIY cleaning approach
- Direct cost savings compared to professional service fees
- Complete control over timing and which areas receive extra attention
- Ability to work at your own pace across multiple days if needed
- Immediate addressing of any areas you notice need additional attention
- Satisfying involvement in the final transformation of your renovation project
- Requires investment in or rental of appropriate equipment, particularly HEPA vacuums
- Significantly more time-intensive, potentially taking 2-3 times longer than professional crews
- Physical demands after months already spent managing the renovation project
- Learning curve for techniques like streak-free glass cleaning or construction film removal
- Results may not achieve the same move-in ready standard as experienced professionals
- Risk of damaging new finishes through use of incorrect cleaning products or methods
- Visibilité budgétaire totale sur toute la durée contractuelle
- Protection contre les hausses brutales du marché
- Simplification de la gestion administrative et comptable
- Sécurisation des marges pour les entreprises à budget contraint
- Prix initial généralement supérieur au marché spot
- Impossibilité de profiter d’un marché baissier
- Engagement ferme avec pénalités de sortie anticipée
- Prime de sécurité intégrée au tarif
When evaluating professional services in Oakville, consider established local providers with specific post-construction experience rather than general housekeeping companies. Post-construction cleaning requires different expertise, equipment, and approaches compared to regular residential cleaning. Companies like Sunrise Cleaning, operating in Oakville since 1992 with recognition including Oakville Beaver Readers’ Choice Diamond Awards, bring specialized knowledge of construction cleaning alongside familiarity with local building practices and common renovation scenarios in this Greater Toronto Area community.
Budget considerations are legitimate, particularly after construction costs often exceed initial estimates. However, calculate the cost in context: professional final touch-up cleaning typically represents a small fraction of your overall renovation investment while directly affecting your immediate experience moving back into the space. If budget constraints are significant, the hybrid approach mentioned earlier—DIY rough cleaning, professional final cleaning—often provides the most practical compromise.
Your decision also reflects what you value most after months of renovation disruption. Some homeowners appreciate the hands-on control and cost savings of DIY cleaning. Others, particularly those who’ve been intensely involved in managing the renovation project, value the mental relief of delegating this final task to professionals and simply walking into a completely finished, clean home. Neither approach is inherently superior—the right choice aligns with your specific project scope, timeline, budget, and personal circumstances.
Making the three-stage sequence work for your Oakville renovation
The three-stage cleaning sequence exists because construction inherently generates different contamination at different phases, and protecting your investment requires removing each type of debris before it damages subsequent work. Rough cleaning after drywall prevents your paint work from being compromised. Light cleaning after painting prevents your final fixtures from being installed onto dusty surfaces. Final touch-up 24-48 hours before occupancy ensures you’re moving into a home rather than a construction site.
Whether you handle these stages yourself, engage professional services, or combine both approaches depends on your project’s specific scale, your available time and budget, and the standard you’re targeting. What remains consistent across all successful post-construction cleanings is the timing—each stage must occur at the right moment in your construction sequence to deliver its protective value.
Your renovation represents a substantial investment in your Oakville home’s value, functionality, and your family’s comfort. The cleaning sequence that concludes the project isn’t simply removing dirt—it’s the final protection ensuring every finish you’ve paid to install performs properly and looks its best from the moment you return home. After managing permits, coordinating trades, and making countless decisions throughout your renovation, this structured cleaning approach transforms months of construction work into the finished, livable space you envisioned.
Establishing a regular maintenance schedule can help you protect your renovation investment long after construction cleaning is complete, ensuring your Oakville home maintains the quality standard you’ve worked to achieve.